> For the complete documentation index, see [llms.txt](https://hlddocs.lookingglassfactory.com/llms.txt). Markdown versions of documentation pages are available by appending `.md` to page URLs; this page is available as [Markdown](https://hlddocs.lookingglassfactory.com/content-pipelines/creating-videos-with-3d-tools/unreal-engine.md).
# Unreal Engine
Use Unreal Engine with Looking Glass Hololuminescent Displays for cinematic content and realtime applications.
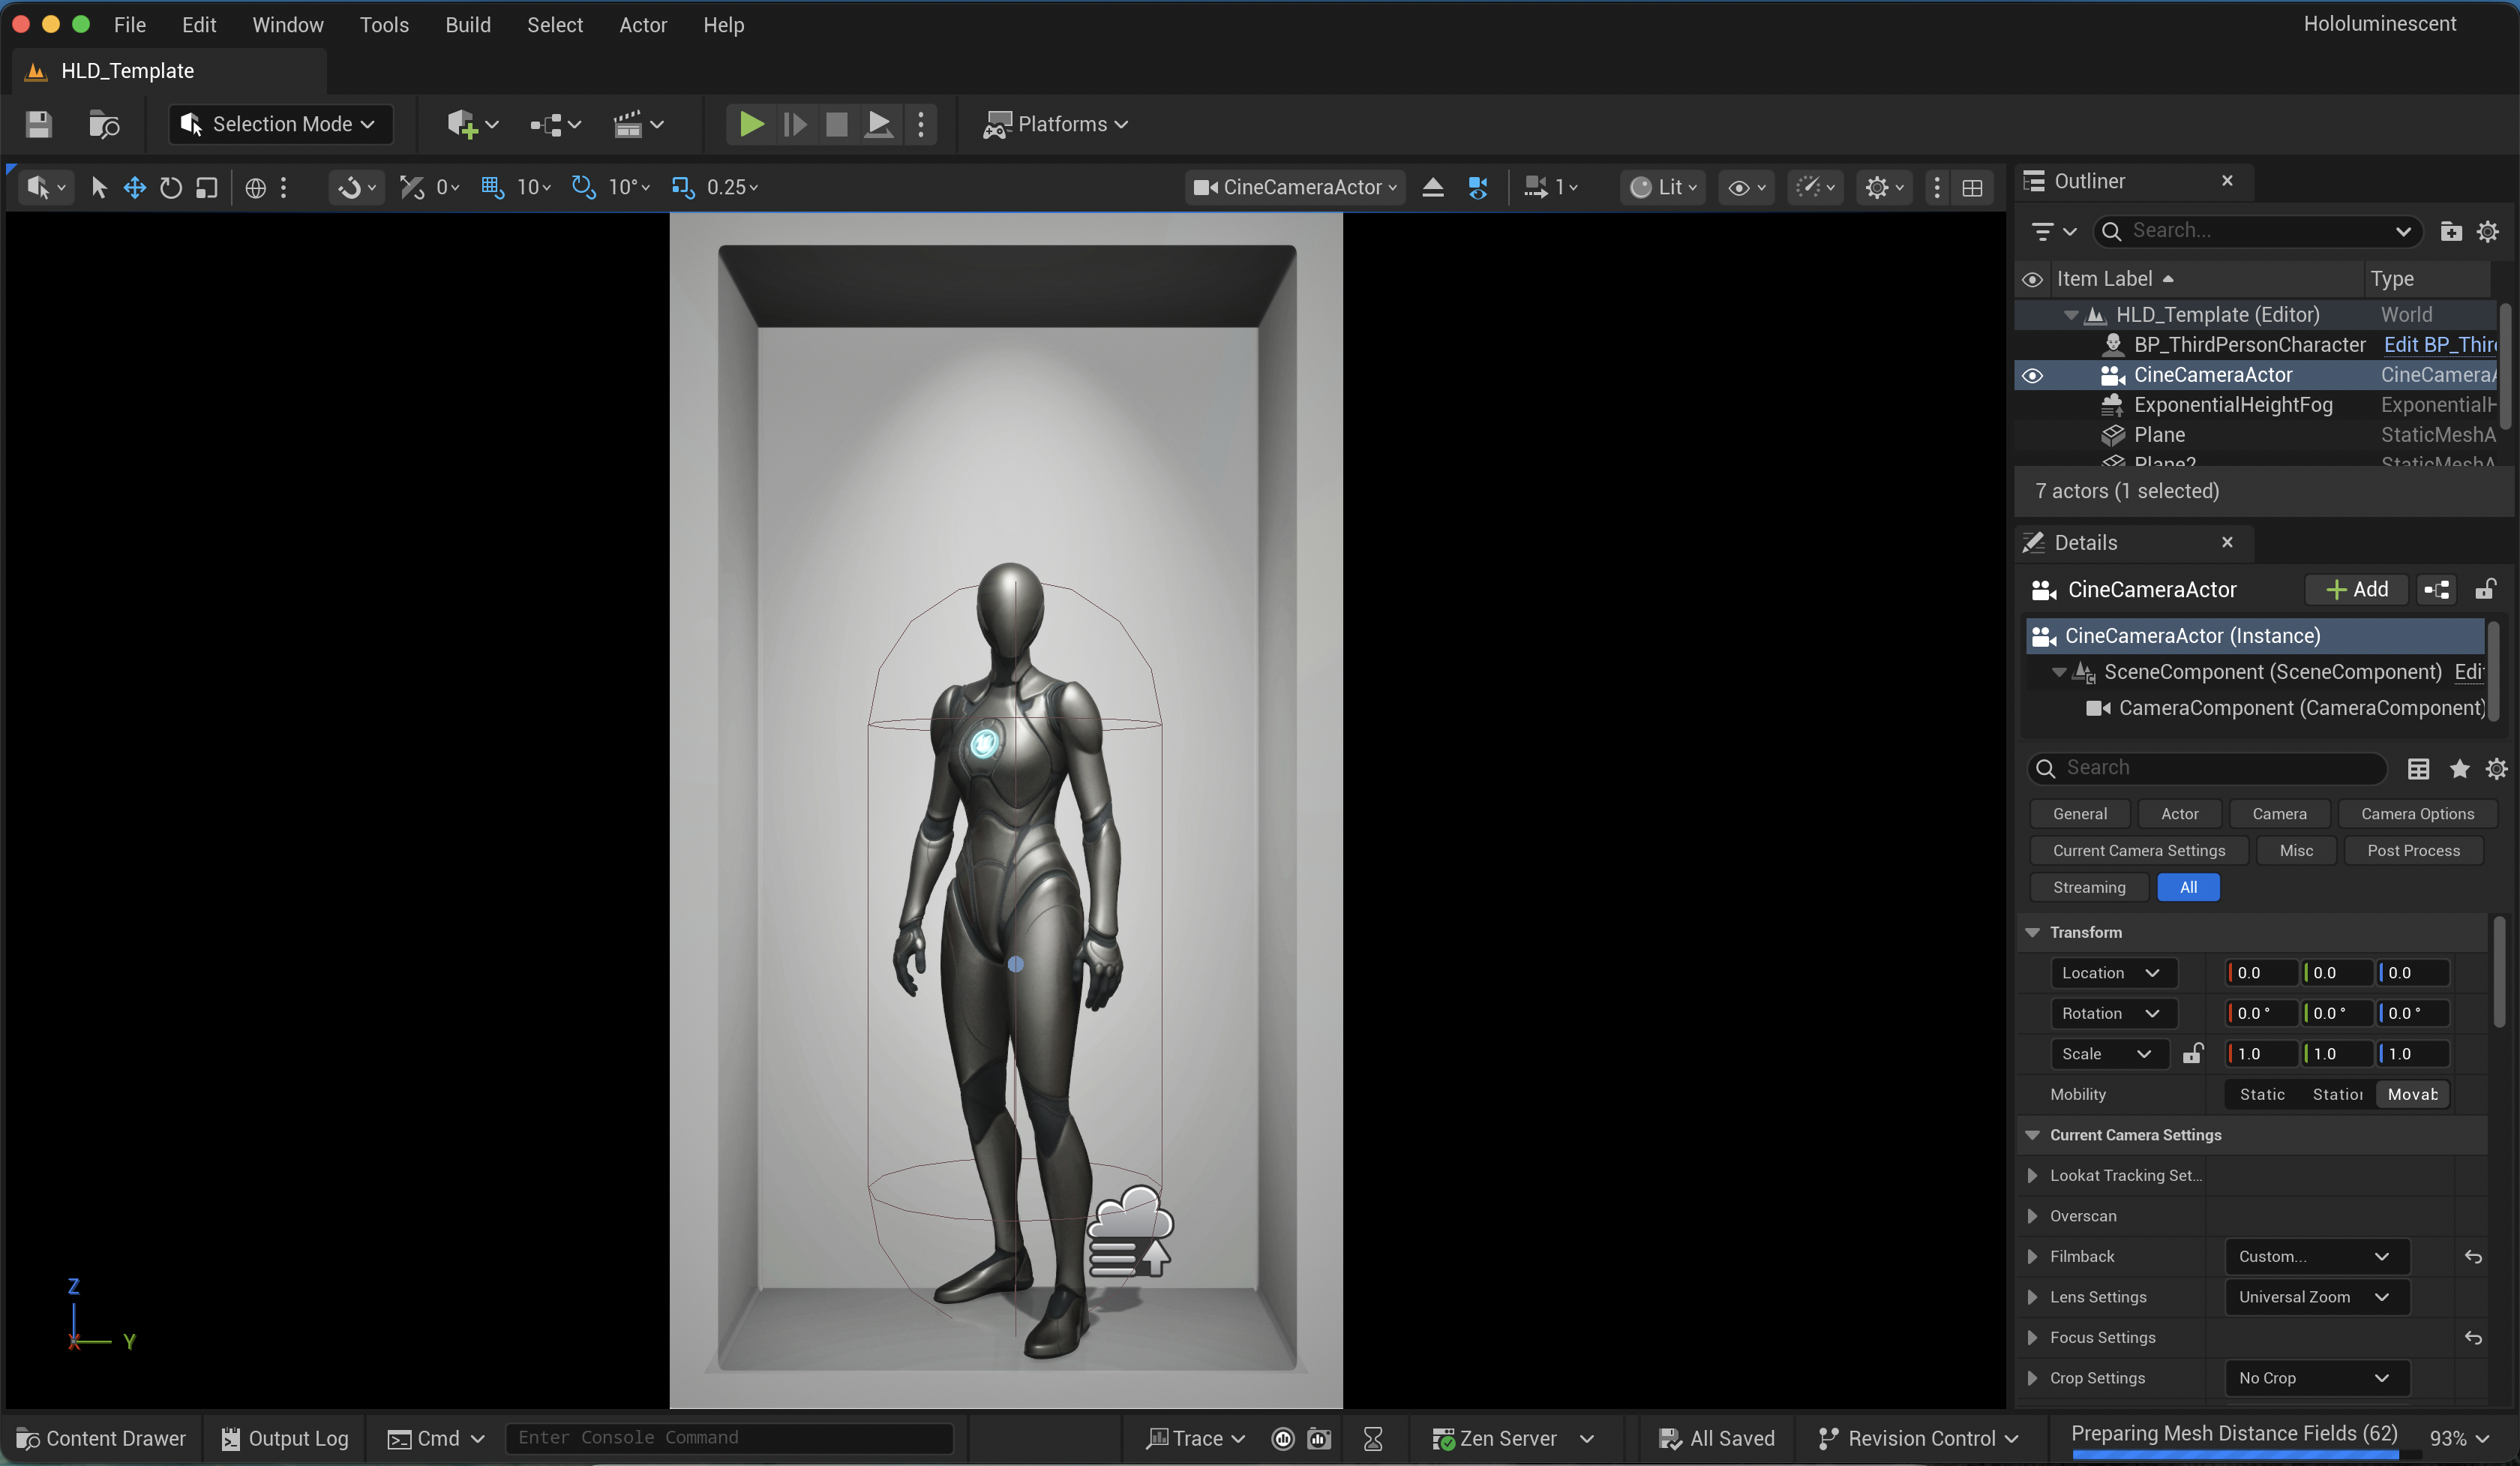
Our Unreal Engine Template provides some basic constructs for catching shadows, reflections and framing content.
## Requirements
{% hint style="info" %}
**Our template requires Unreal Engine 5.6 or newer.**
{% endhint %}
{% embed url="" %}
## Opening the project
Our template is available as an Unreal Engine Project or as a Plugin, you can access the project from our Github here:
{% embed url="" %}
To open the project, make sure Unreal Engine 5.6 is installed and double click the .uproject file. From there, navigate to the **Plugins/Hololuminescent-Display-Template/** directory and open the **HLD\_Template** level.
The level contains a few components.
* **Alcove** - a visual preview of the holographic volume of our Hololuminescent Displays.
* **Shadow Catcher** - a plane to catch shadows from your main content and also add a subtle reflection.
* **CineCameraActor** - a camera setup to match the perspective to the holographic volume.
## Placing Content
In our template we've used the BP\_ThirdPersonCharacter asset as an example, you can replace this with your own content. For more guidance please see our [Products](/creative-guidelines/products.md) or [Characters](/creative-guidelines/characters.md)pages.
## Exporting Content
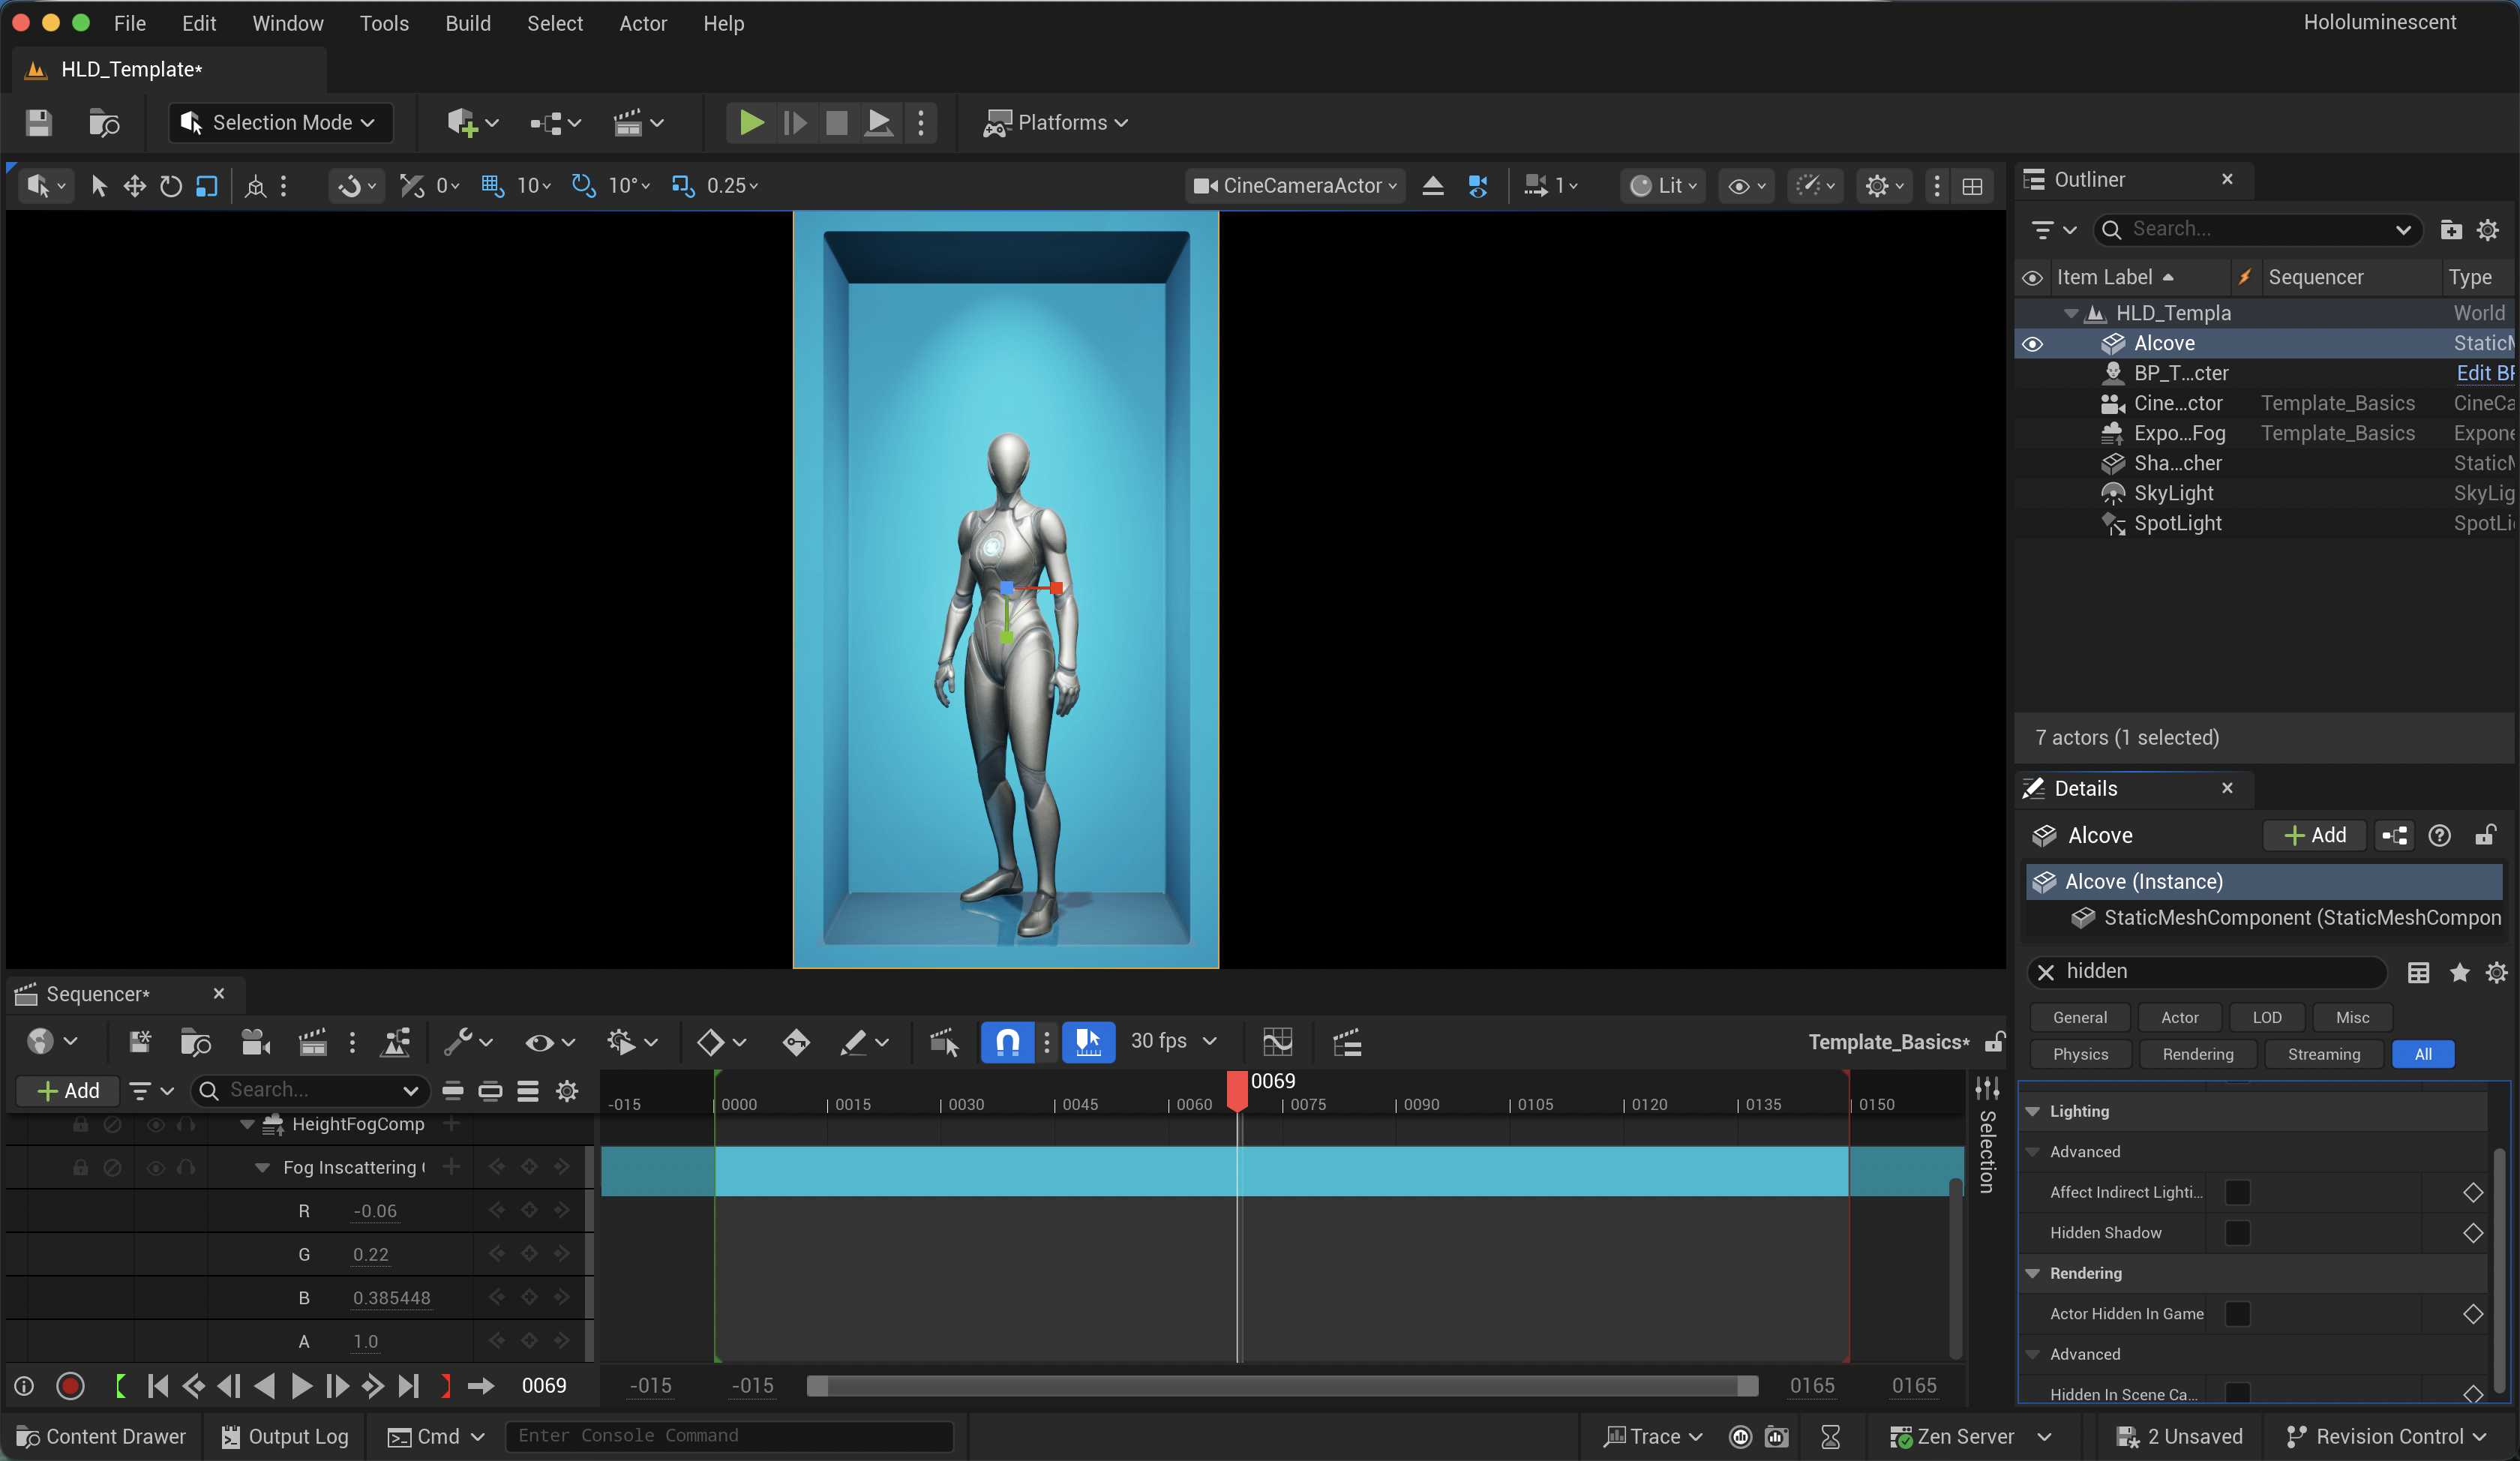
The **Alcove** element should be set to **`hidden in game`**, this means it will automatically disappear during a game session or capture session. This will also allow you to quickly toggle the alcove on and off by pressing `G` on your keyboard.
To export content, open the sequencer window and track the CineCamera Actor in the scene. This camera should remain static and should not be modified or moved. Your content should be placed relative to the camera.
{% hint style="success" %}
You can tweak the atmospheric fog and shadowing plane's base color to allow for a tinted alcove. This can be helpful for content where you're looking to have a more branded experience.
{% endhint %}
Once you're happy with your scene, make sure the Alcove is set to hidden, and then choose `Render Movie` — this will open the dialog to render your video out. You should change the preset resolution to ensure you're rendering at 4K, in a 9:16 aspect ratio.
We recommend exporting as an image sequence, but you can compile the image sequence into a video using your preferred video editor.
## Previewing and exporting for HLD playback
Once you’ve exported your video, we recommend opening it in [**HLD Author**](/apps-and-tools/hld-author.md).
HLD Author lets you:
* Import supported 3D media directly or adjust a video rendered from Unreal Engine
* Tune framing, model transforms, lighting, shadows, animation, and export-camera motion
* Preview your content on a simulated Hololuminescent Display
* Export the correct MP4 for the included [HLD Demo Media Player](/managing-content/using-the-demo-media-player.md), BrightSign, or standard portrait-video playback
This is the easiest way to refine the result and confirm framing, depth, and orientation before deployment.